|
|
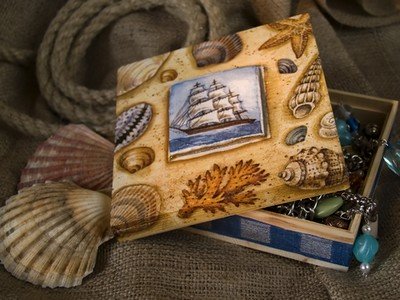
Decoupage Projects: Jewelry Box in 10 Easy Steps! Step-by-Step Instructions.Learn how to decoupage with our jewelry box in our decoupage projects page in 10 easy steps with simple step-by-step instructions. Decoupage is not difficult, it just requires a little patience, a steady hand and an eye for color and detail. Mother's Day is just around the corner. Get the kids to make this for mum or grandma as it is relatively inexpensive, and will be a gift well-treasured.
You will need for your Decoupage Project:
1. Prepare the box by painting it with Maize as a base color. When dry, rub the surface down with fine-grade sandpaper. 2. Cut out your paper shapes carefully, moving the paper around, rather than the scissors to make clearer and more accurate cuts. 3. Turn the cut-out shapes pattern face-down and paste the backs with wallpaper paste, covering all surfaces. 4. Stick the shapes down on top of the box lid, positioning them artistically, as well as the strip for the sides. 5.Using a soft cloth, and making sure you do not tear your new shapes, gently smooth out any air-bubbles trapped under the paper. Leave to dry overnight. 6. Begin varnishing, using a clean new brush and applying a sparing coat to the whole surface of the tray. When dry, rub lightly with fine-grade sandpaper and repeat as many times as you like. 7. If you want to achieve an antique look, you can apply the crackle glaze at this stage. However, you must apply a base coat first. 8. After the base coat has dried completely, after about 30 minutes, apply an even coat of the crackle glaze and leave it to dry for another 30 minutes. 9. Rub a small amount of artist's oil paint into the cracks, using a cotton cloth. Raw umber gives a naturally aged effect, but any color can be used. Rub off excess paint with a soft cloth. 10. Give the box at least two more coats of clear satin varnish, and many more layers after that if you have the time and the patience! Check back from time to time to see what other decoupage projects we have for you.
Go from Decoupage Projects back to Traditional and Country Skills
|
